

 Facebook
 X
X
 Pinterest
 Copy Link

I’m so excited to share Part 2 of my First Time Flipper blog series. For this post I’m sharing the details of the interior. If you missed Part 1, the exterior pictures and details, click here to catch up https://erinwoodruffwells.com/2023/10/04/first-time-flipp…xperience-part-1
The “before” of the interior could be best described as dark and dingy. The primary goal was to open it up as much as possible and brighten the house with new paint, flooring and lighting. It’s fun to look back now on the before and after pictures (they are pretty dramatic) and see how this little ugly duckling of a house transformed into a lovely little home – the perfect starter home for a young family.
To say I learned a lot during this process is a complete under statement. This was the first remodeling project I had ever taken on and I faced MANY challenges. There is simply no way to tell for certain the condition of a home without opening up the walls. The extent of the water damage in this home was shocking. A lot of structural work was required to repair floor joists and walls. The other big challenge was finding workers to show up consistently. Like I mentioned in Part 1, I served as the general contractor on the project, so lining up subcontractors was something I did daily. Did I mention that while working on this project I also purchased my primary residence that I soon gutted, managed my real estate business and clothing boutique, while also being Mom to two small children? Whew! It was a busy and chaotic time in my life for sure!
My greatest takeaway from the project is being able to better relate to my real estate clients that are wanting to complete a similar project. There’s simply no way to understand what goes into a flip project until you’ve completed one yourself.
Below is a list of mistakes I made along with things to consider regarding the interior of flip projects:
- Study your floor plan, decide if you’re making changes and plan accordingly. I made a costly mistake by not removing a wall in the beginning of demolition. The trusses in the house extended across the entire structure allowing for the removal of interior walls without added structural support. You’ll see the wall I’m referring to in the pictures below. This one particular wall created an unnecessary room, and by taking it down I was able to open up the living room, and combine the living and dining spaces. Unfortunately, I had the wall repaired and painted and then decided to take it down. Not good planning on my part.
- Consider gutting instead of trying to rehab tired materials and poor construction. I decided to keep the paneling in the family room and one of the bedrooms. I used paneling from one of the smaller rooms to replace damaged paneling in the others spaces. What I should have done is remove all the paneling and install drywall. This would have saved money on material and labor.
- Select neutral paint and flooring. If you’re flipping a house you want your finishes to appeal to as many buyers as possible. I have found a color combination for paint and flooring that I use for all of my projects.
- Spend a few extra dollars on nice lighting in common areas. In my opinion, lighting is to a room as jewelry is to an outfit. Just like jewelry can elevate an outfit, a well-chosen light fixture can finish a room and make it feel special.
- When in doubt, paint the cabinets white. Natural, wood finished and stained cabinets are having a moment right now and I love the look. But with flip houses, you’re often working with cabinets that need updating. Painting is a cost effective way to update tired and worn cabinets. Using white paint makes cabinets feel clean and updated and appeals to most buyers.
- Hardwood laminate in the common areas, carpet in the bedrooms. This is a cost effective way of using carpet (a cheaper flooring) and hardwood laminate (the more expensive option). If you’re like me and having to replace all of the flooring, save a little money by installing carpet in the bedrooms and putting hardwood laminate in the common areas.
This is by no means an exhaustive list, I could go on and on about the good and bad choices I made on this project 🙂 Overall, I am really proud of the way the interior turned out. I hope you enjoy seeing the before and after pictures below.

This is “before” view just inside the front door. By removing the right wall in the picture above, I was able to open up the living and dining spaces. This created a chain effect in the kitchen which formerly had the only eating area. By combining the living and dining areas, I was able to add more cabinets to the kitchen, making it much more functional.
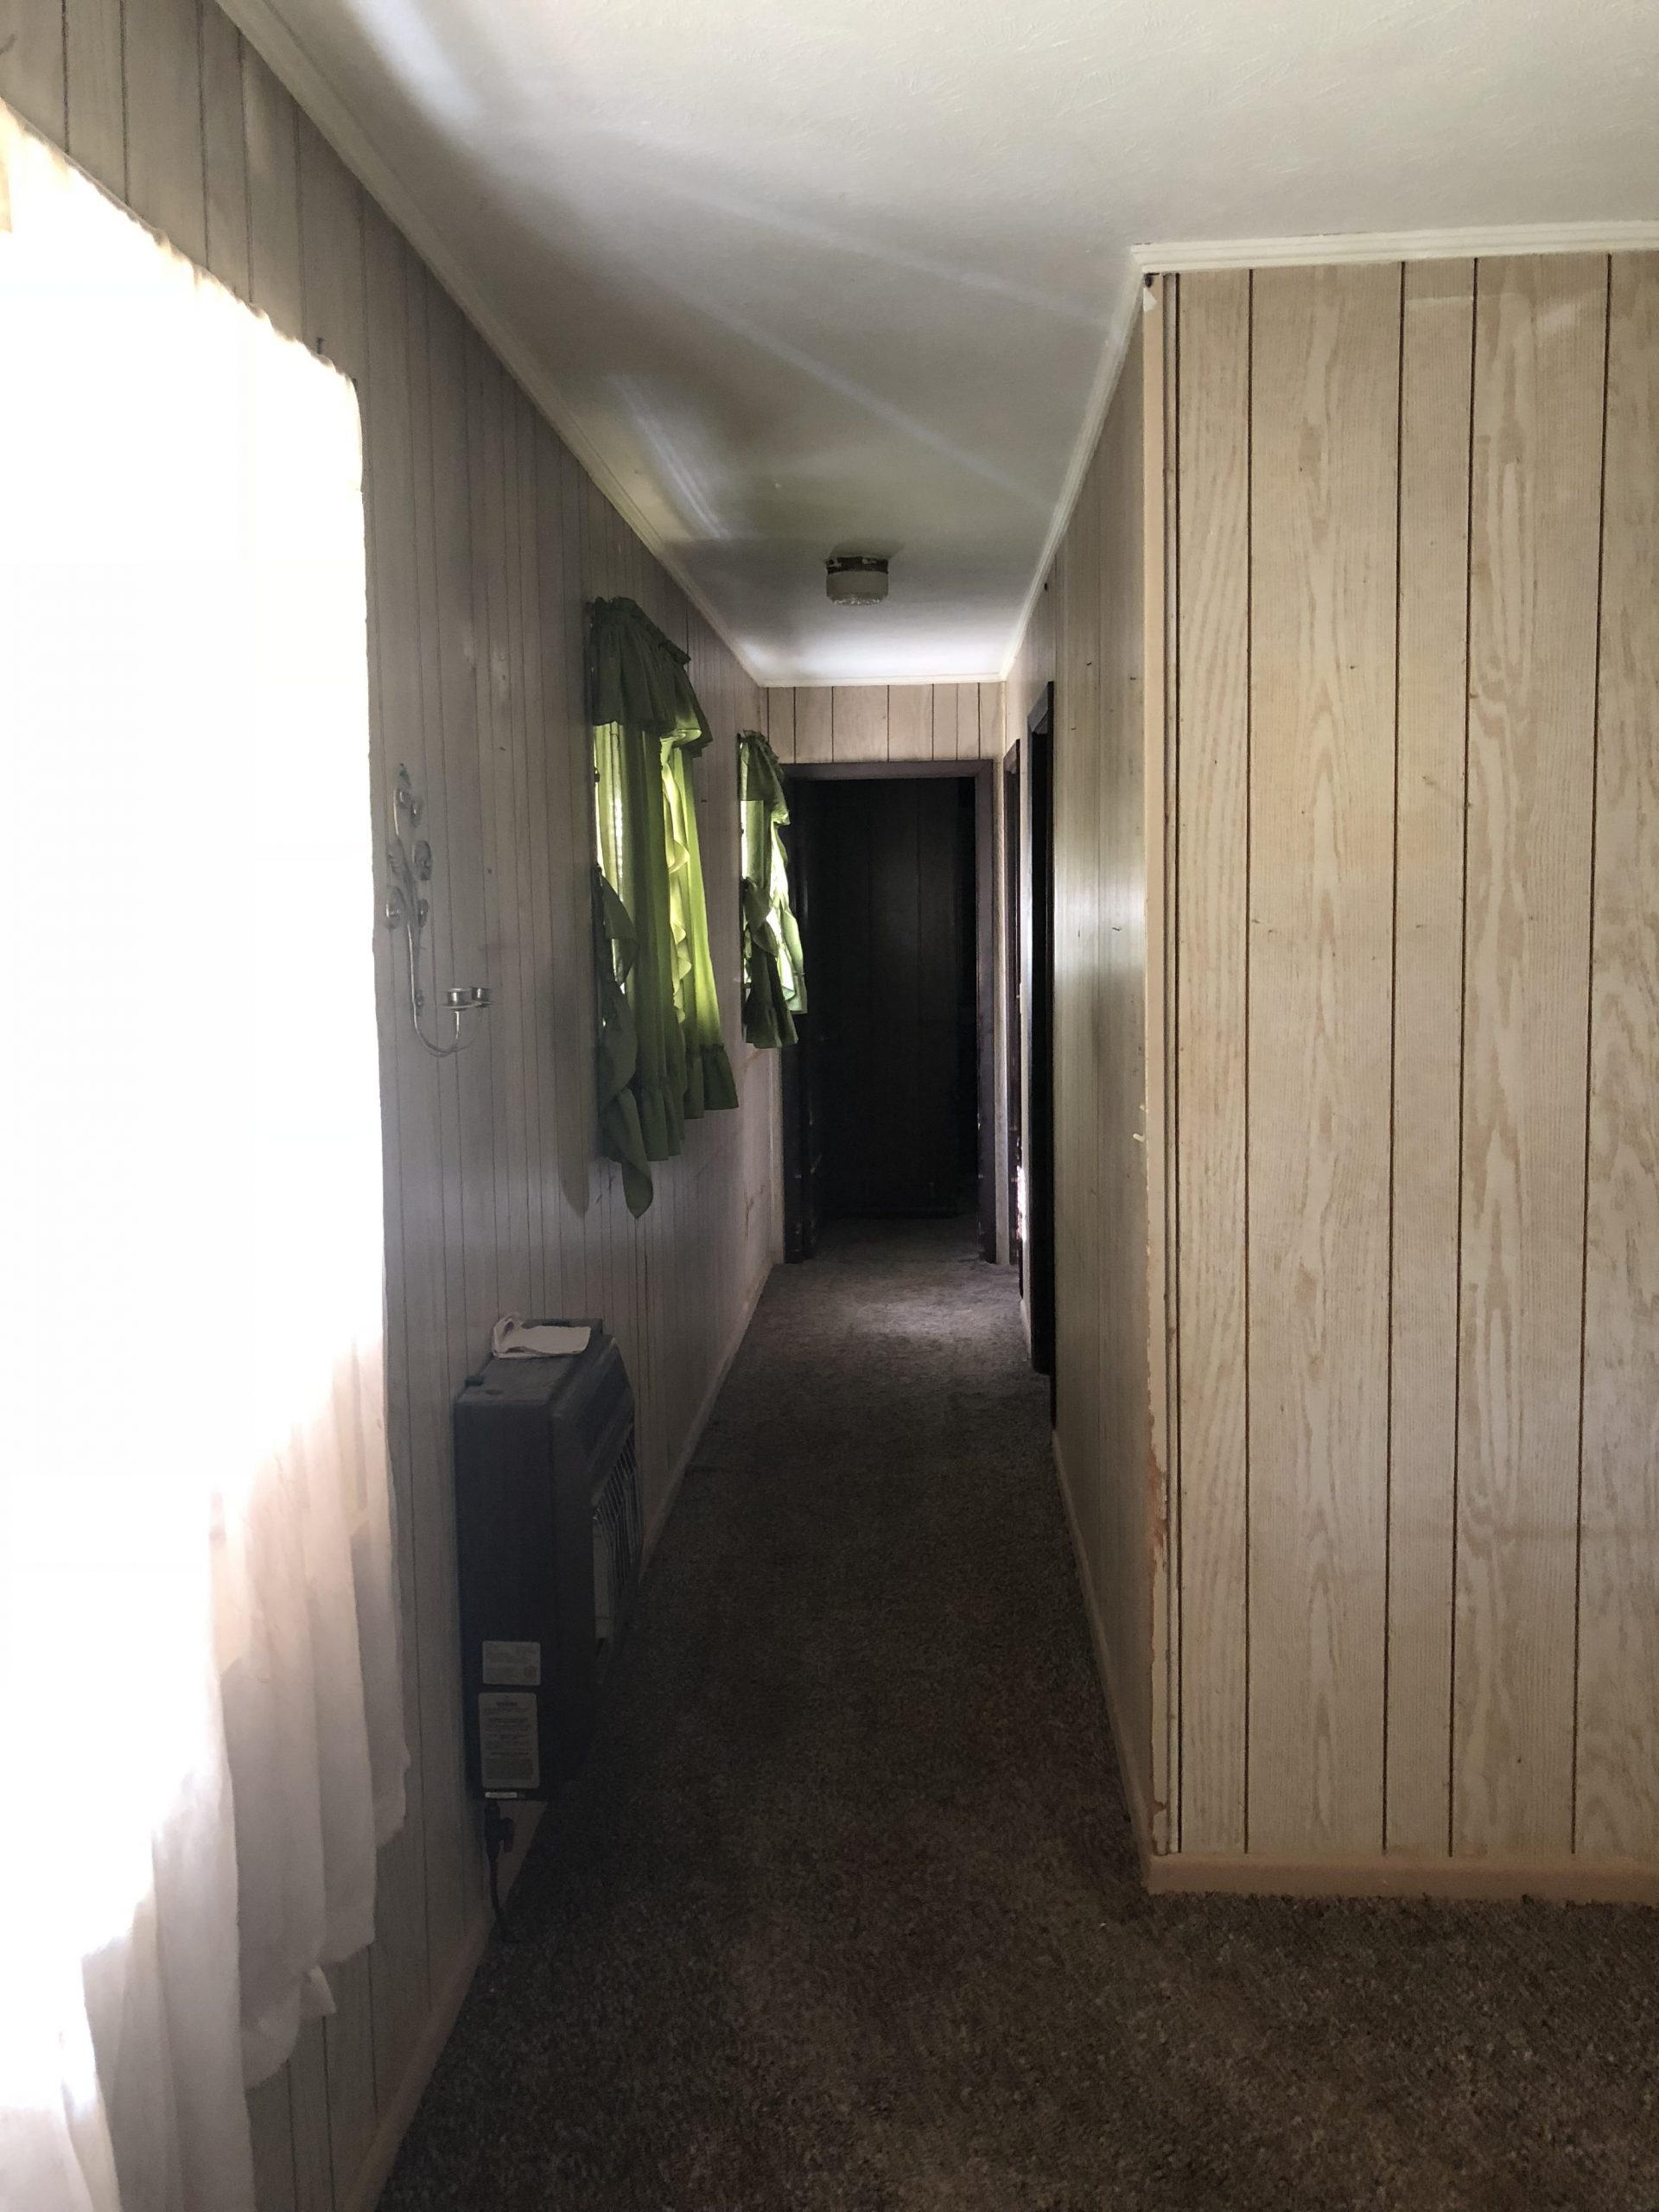
By removing the wall to the right, I eliminated a space-wasting hallway and an awkward room between the old hallway (pictured above) and the largest bedroom in the house. I also added central heating and air conditioning to the house which allowed me to get rid of the wall-mounted gas heaters.

The front door was one thing we actually got to keep. It got a fresh coat of paint on the inside and outside.
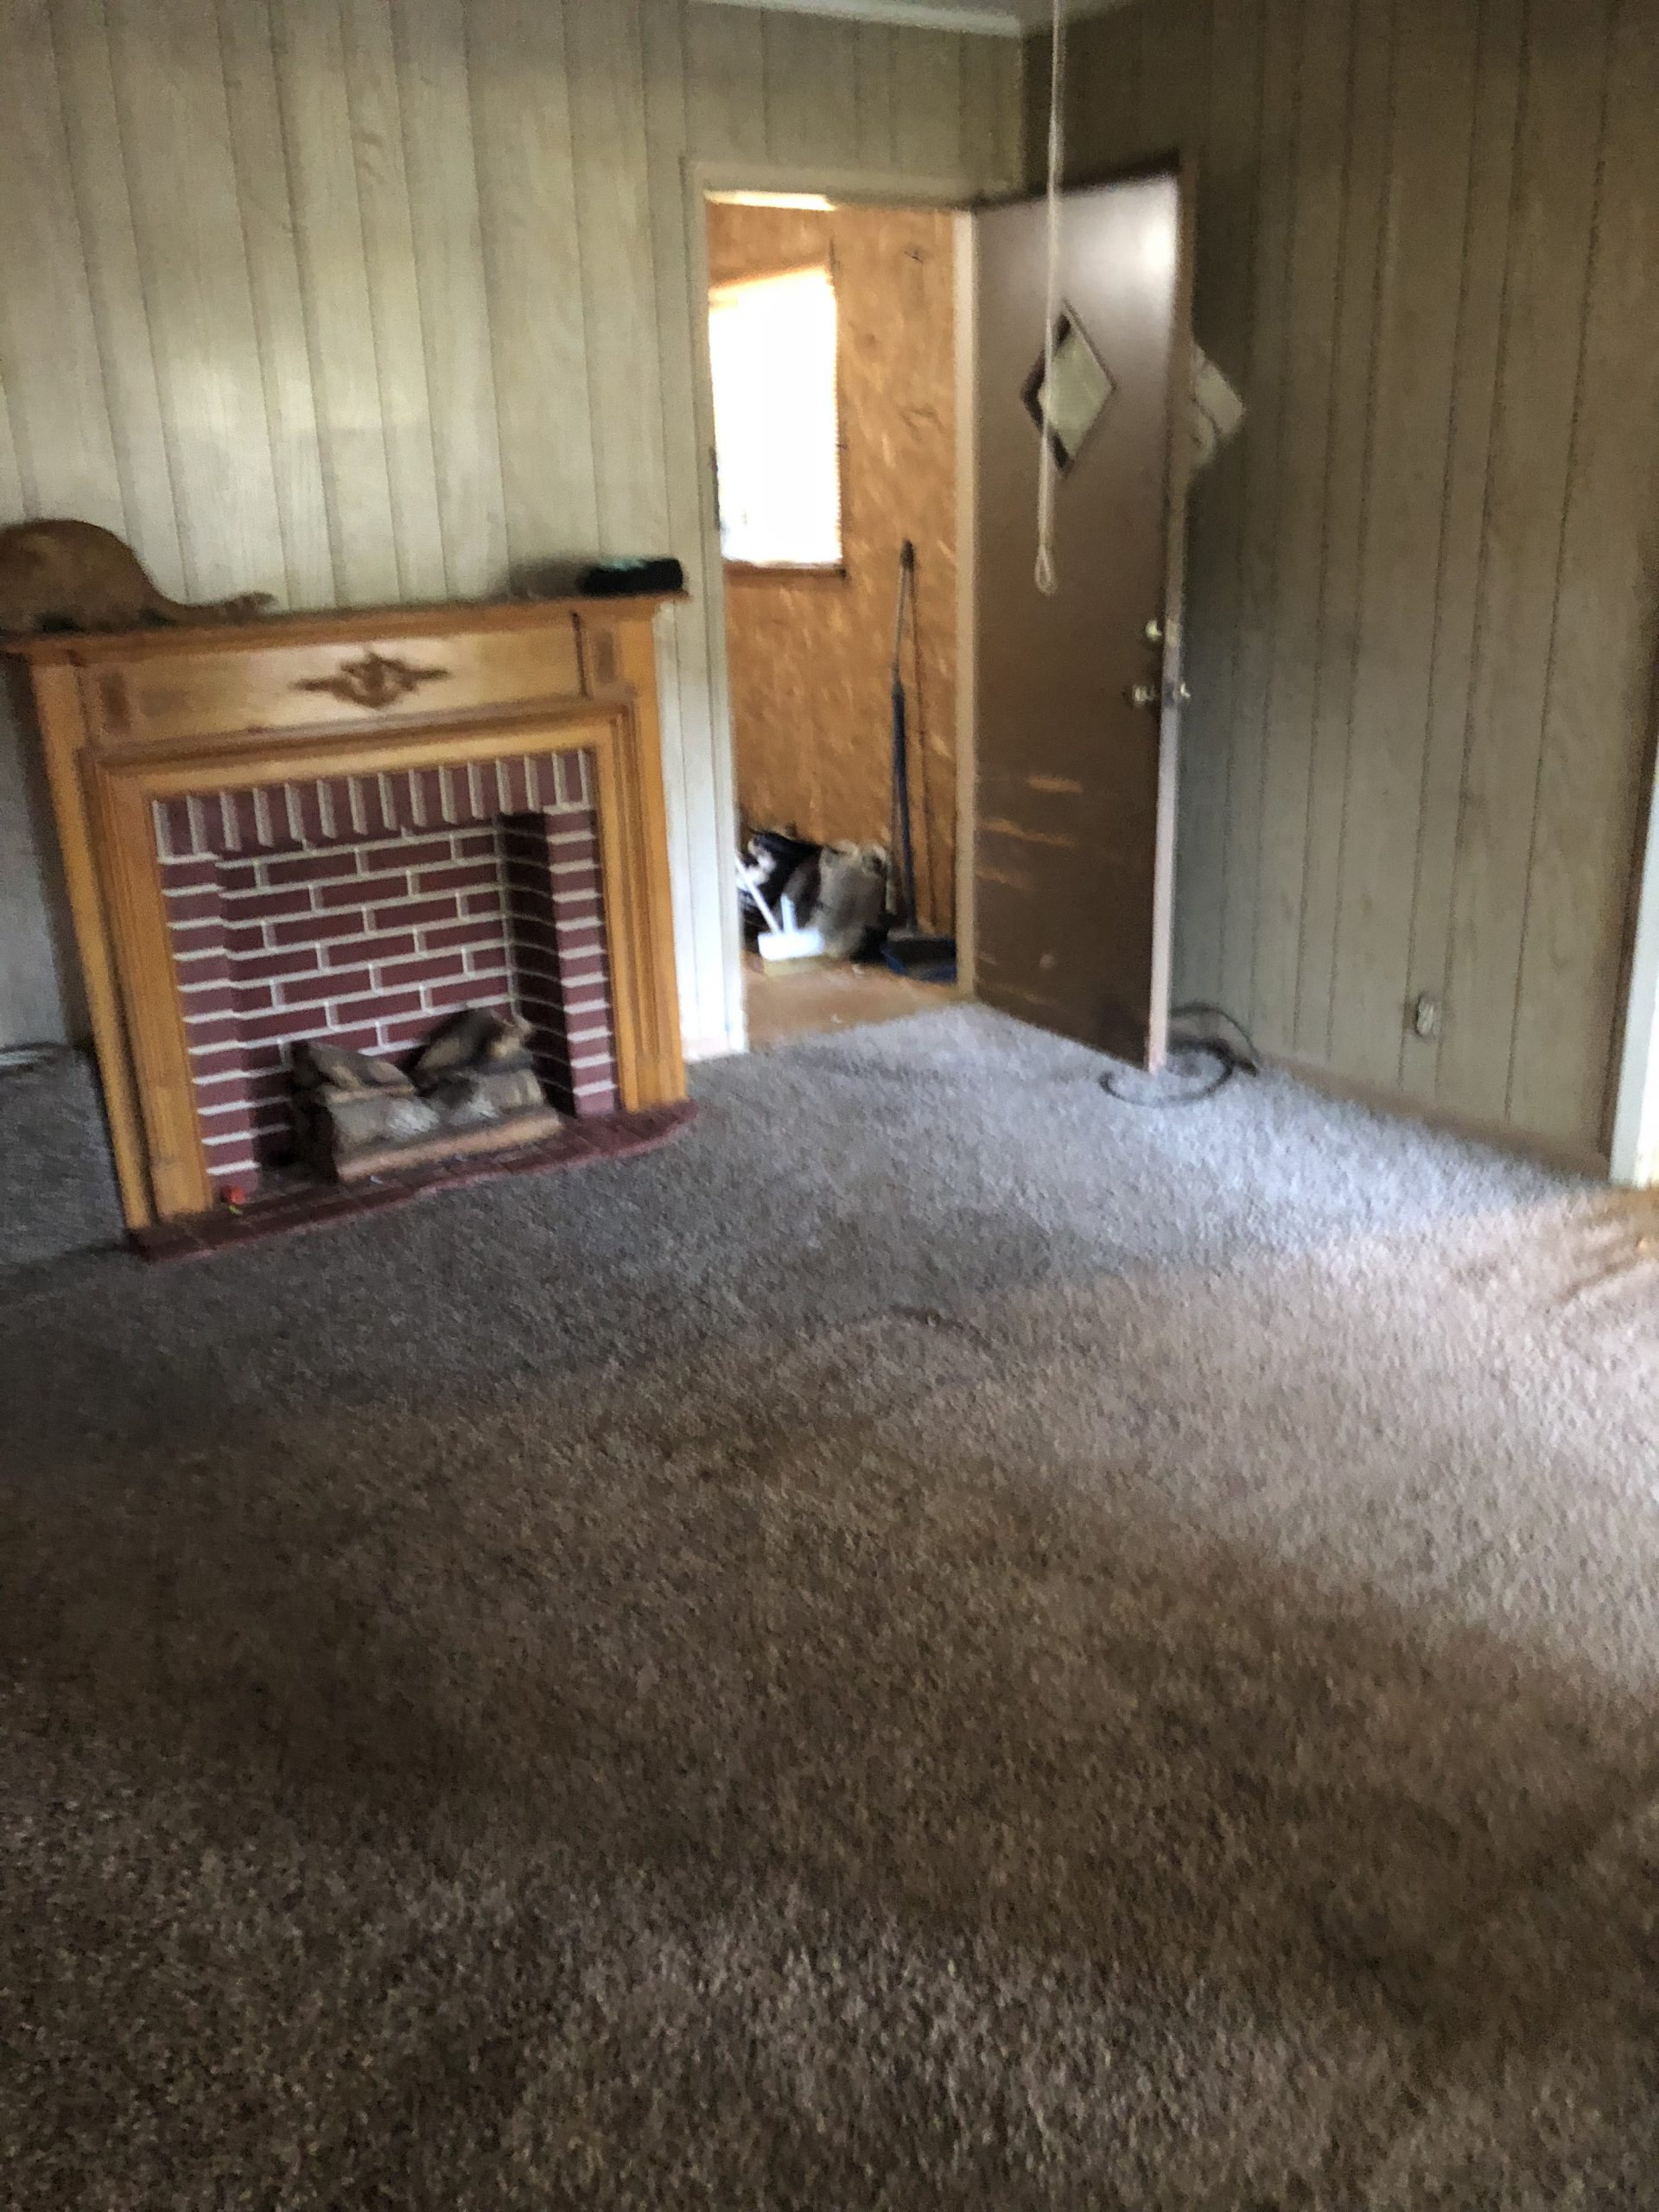
The is the old entrance to the laundry room. The fireplace was “decorative” and easily removed. I apologize for the grainy photo.
This is the “after” view just inside the front door. New hardwood laminate flooring, fresh paint and updated lighting transformed the space. I kept the original paneling in this room. While the paneling looked fine, in hindsight, I should have removed it and installed new drywall.
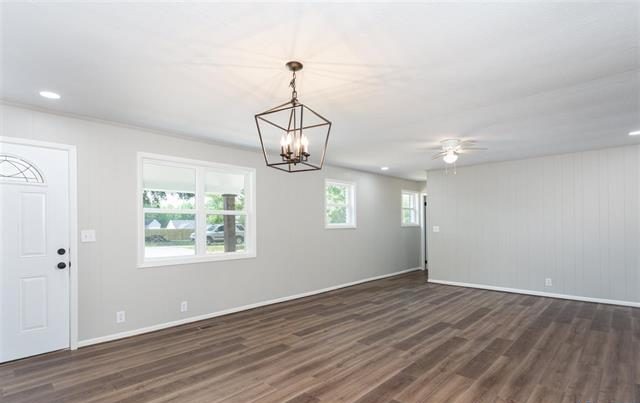
The black lantern light fixture worked perfectly in this space. This is a perfect example of spending a few extra dollars on statement lighting in certain locations. This is one of the first things you see when entering the front door. It makes the room feel special and designates the dining area.

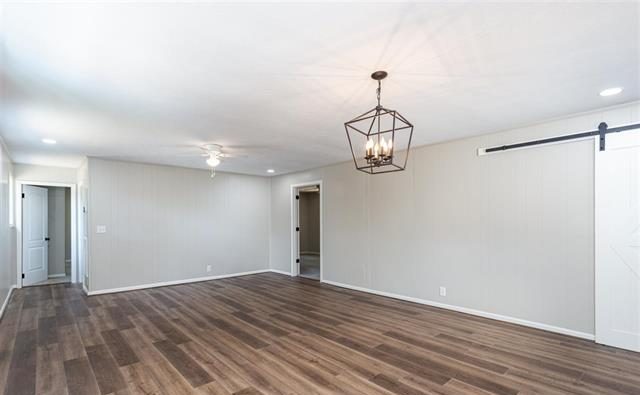
The is the view from the opposite side of the room. I widened the opening to the kitchen to make it feel as open as possible. This hoouse was not built with “style” in mind, it was built for efficiency and lacked in character. By adding a sliding barn door to the combined laundry and mudroom, I was able to add a little character and charm to this space. Bonus, it is one of the first things you see when entering the house.

Here’s a fun side-by-side before and after.
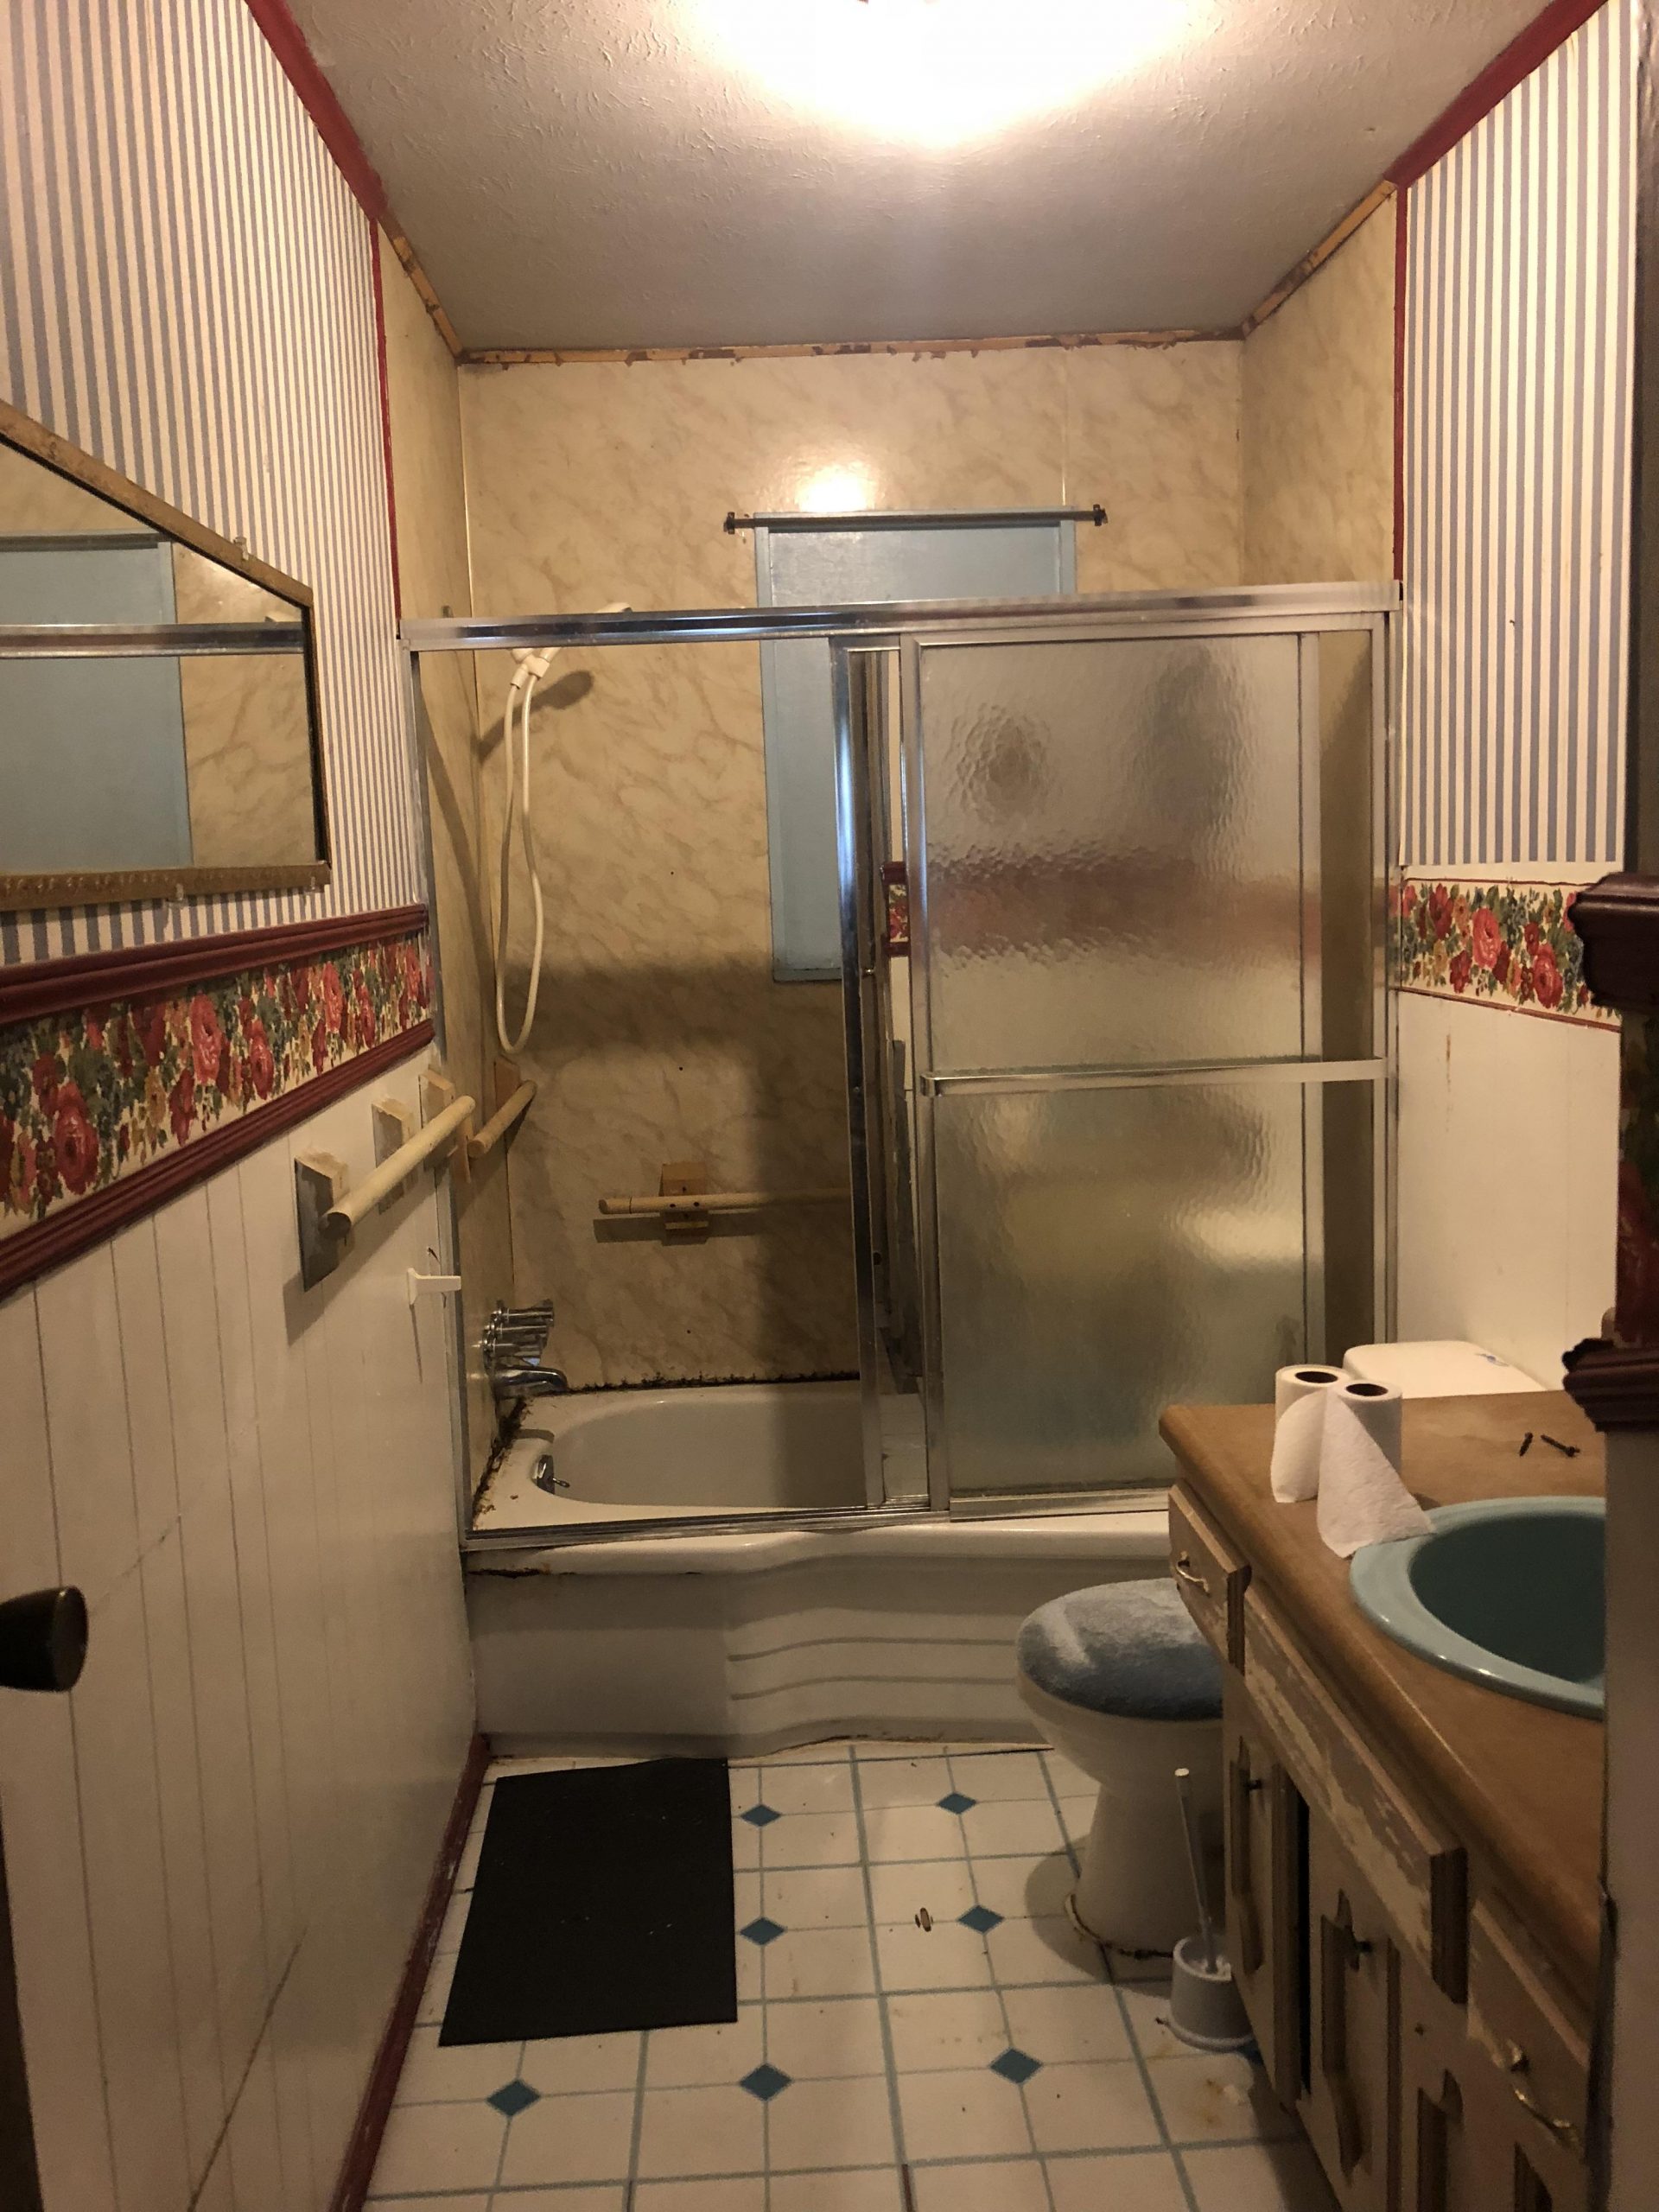
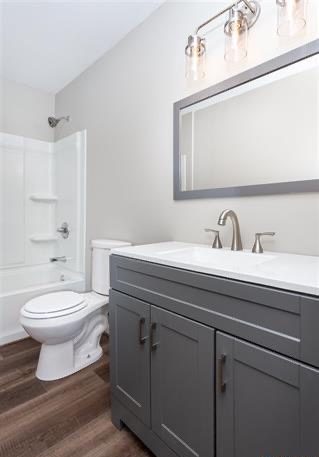
Needless to say, the bathroom was a complete gut job.
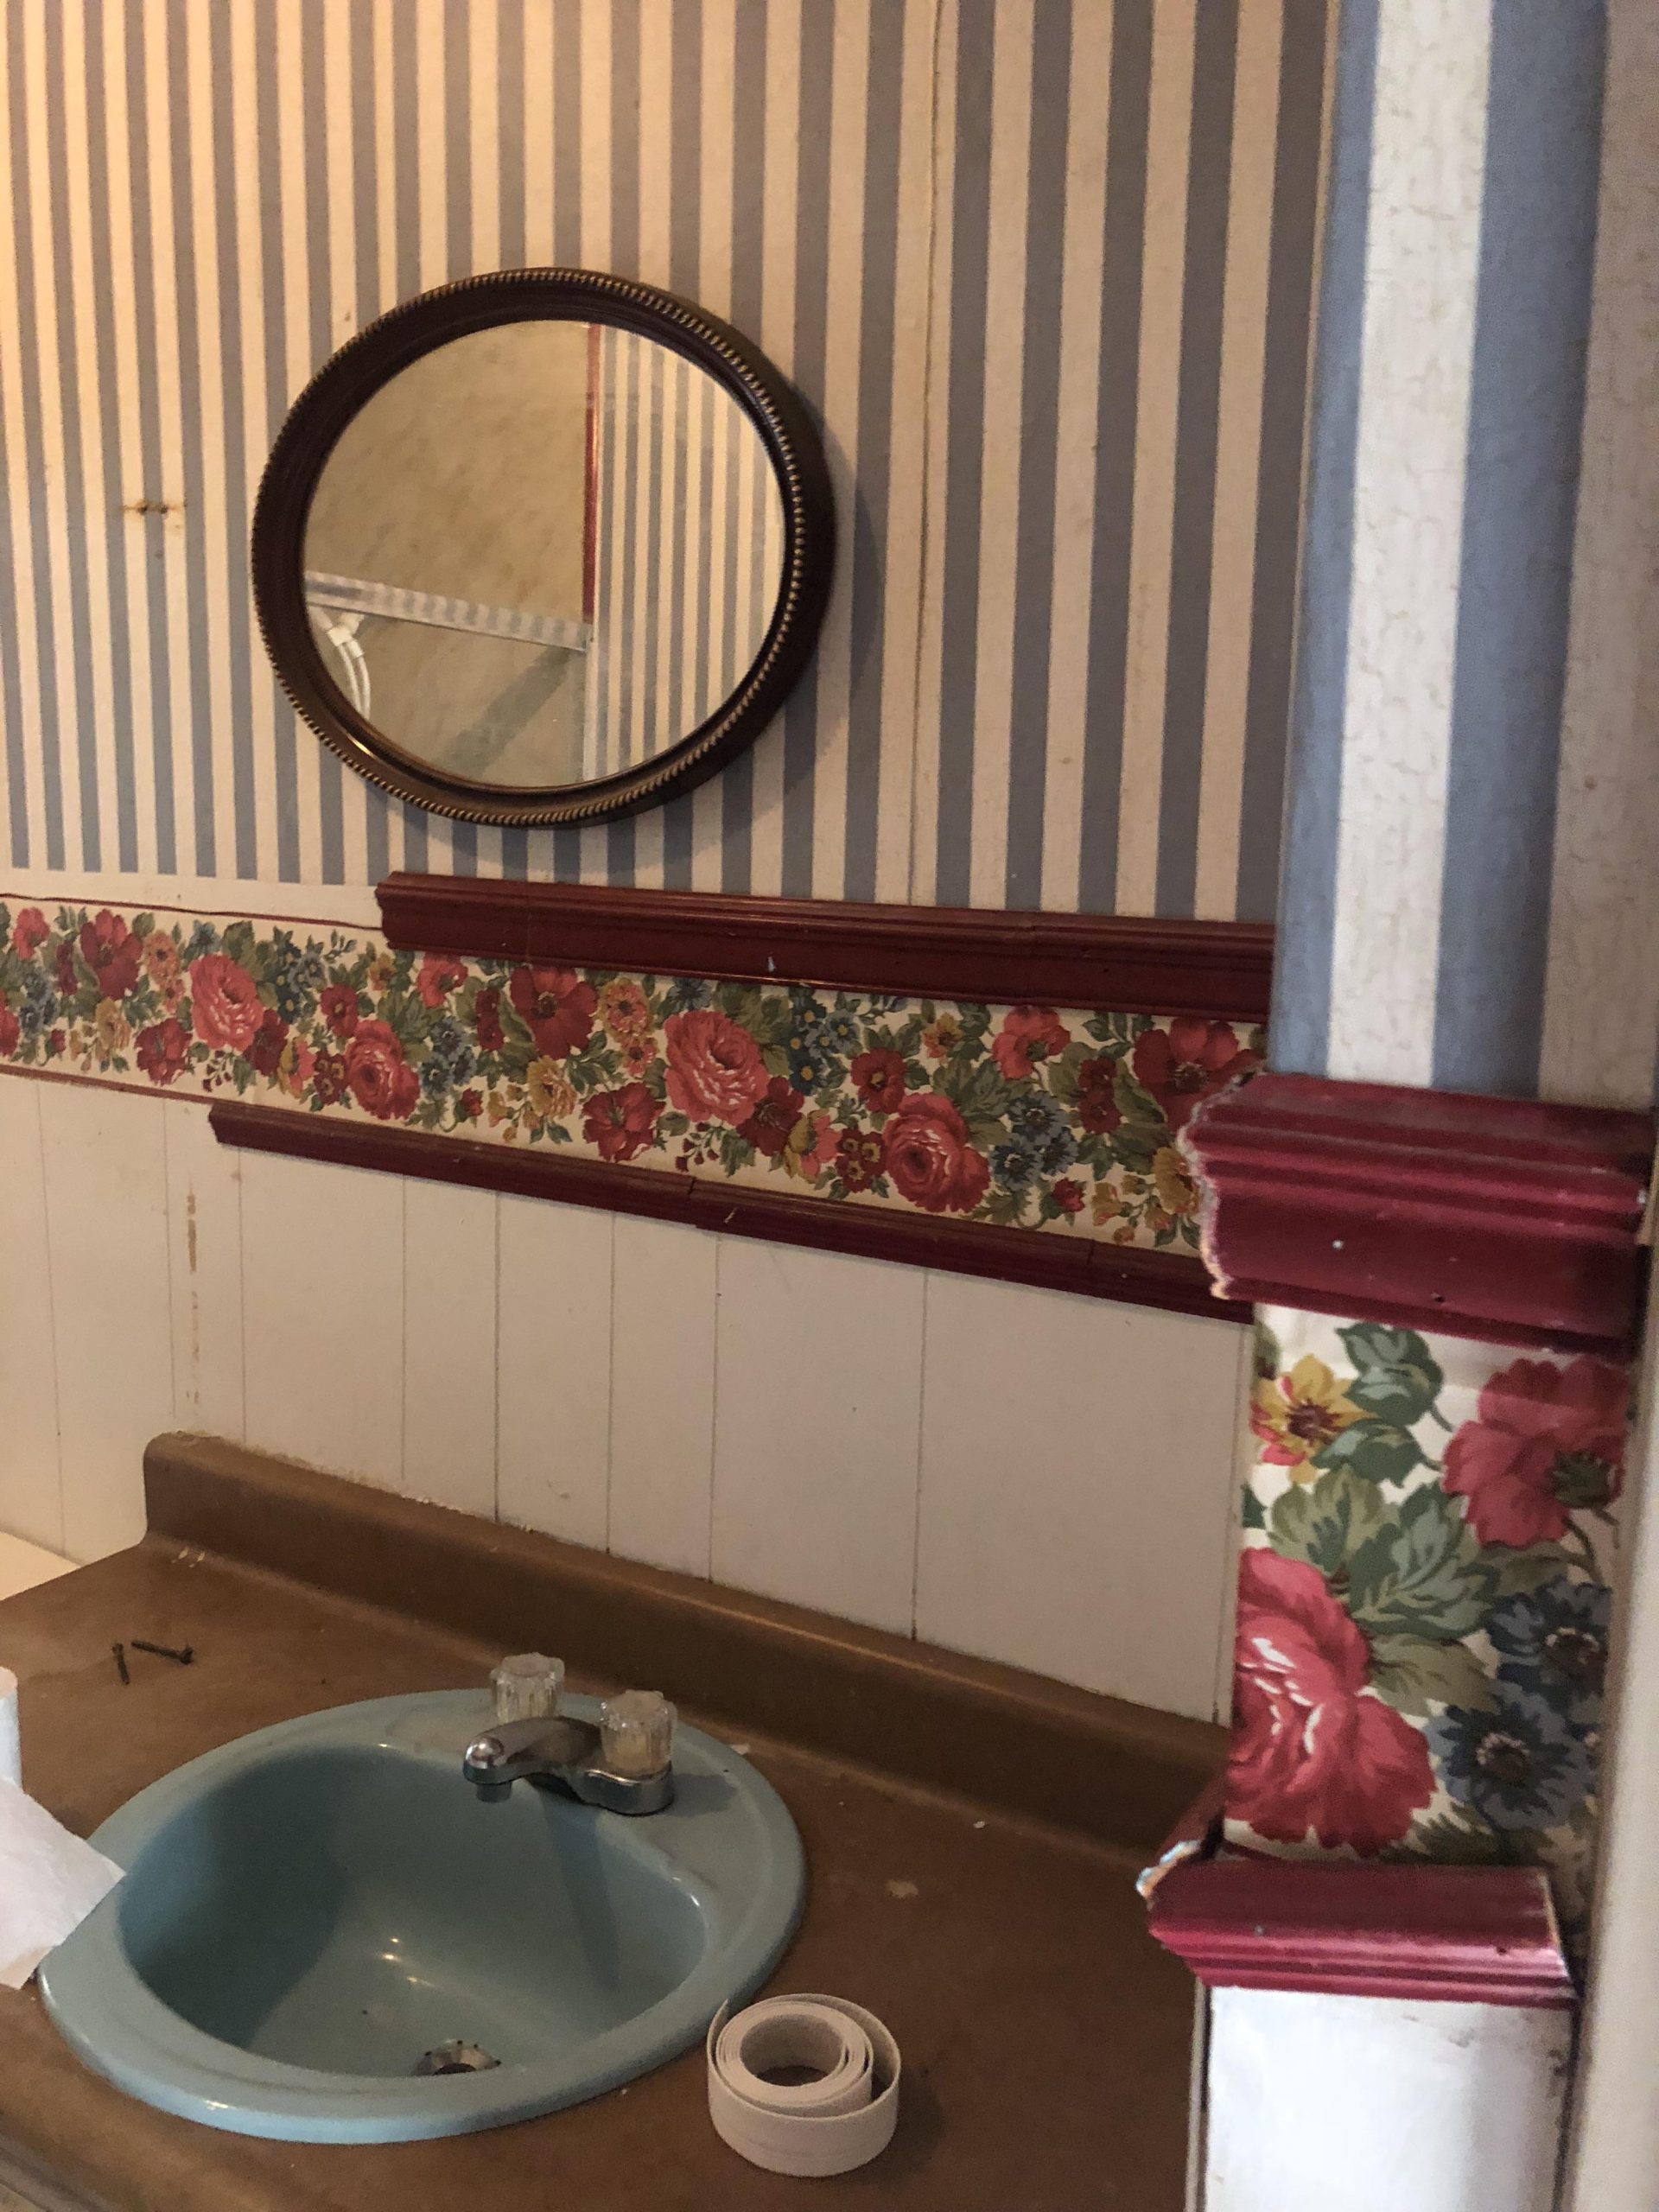
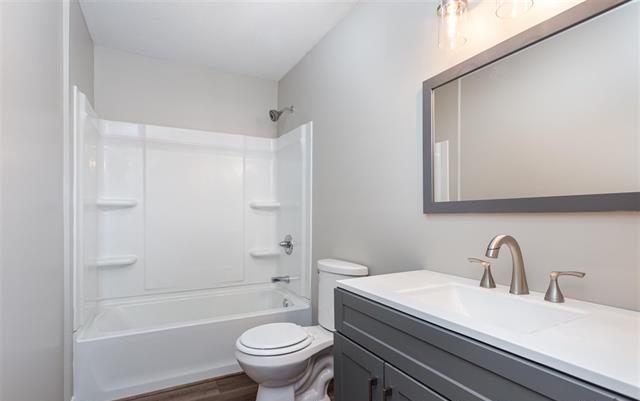
Another dramatic room transformation! I continued the hardwood laminate flooring in the bathroom. For convenience, I purchased an out-of-the-box vanity and and mirror combo from Lowes. A fun light fixture and matching faucet complete the look.
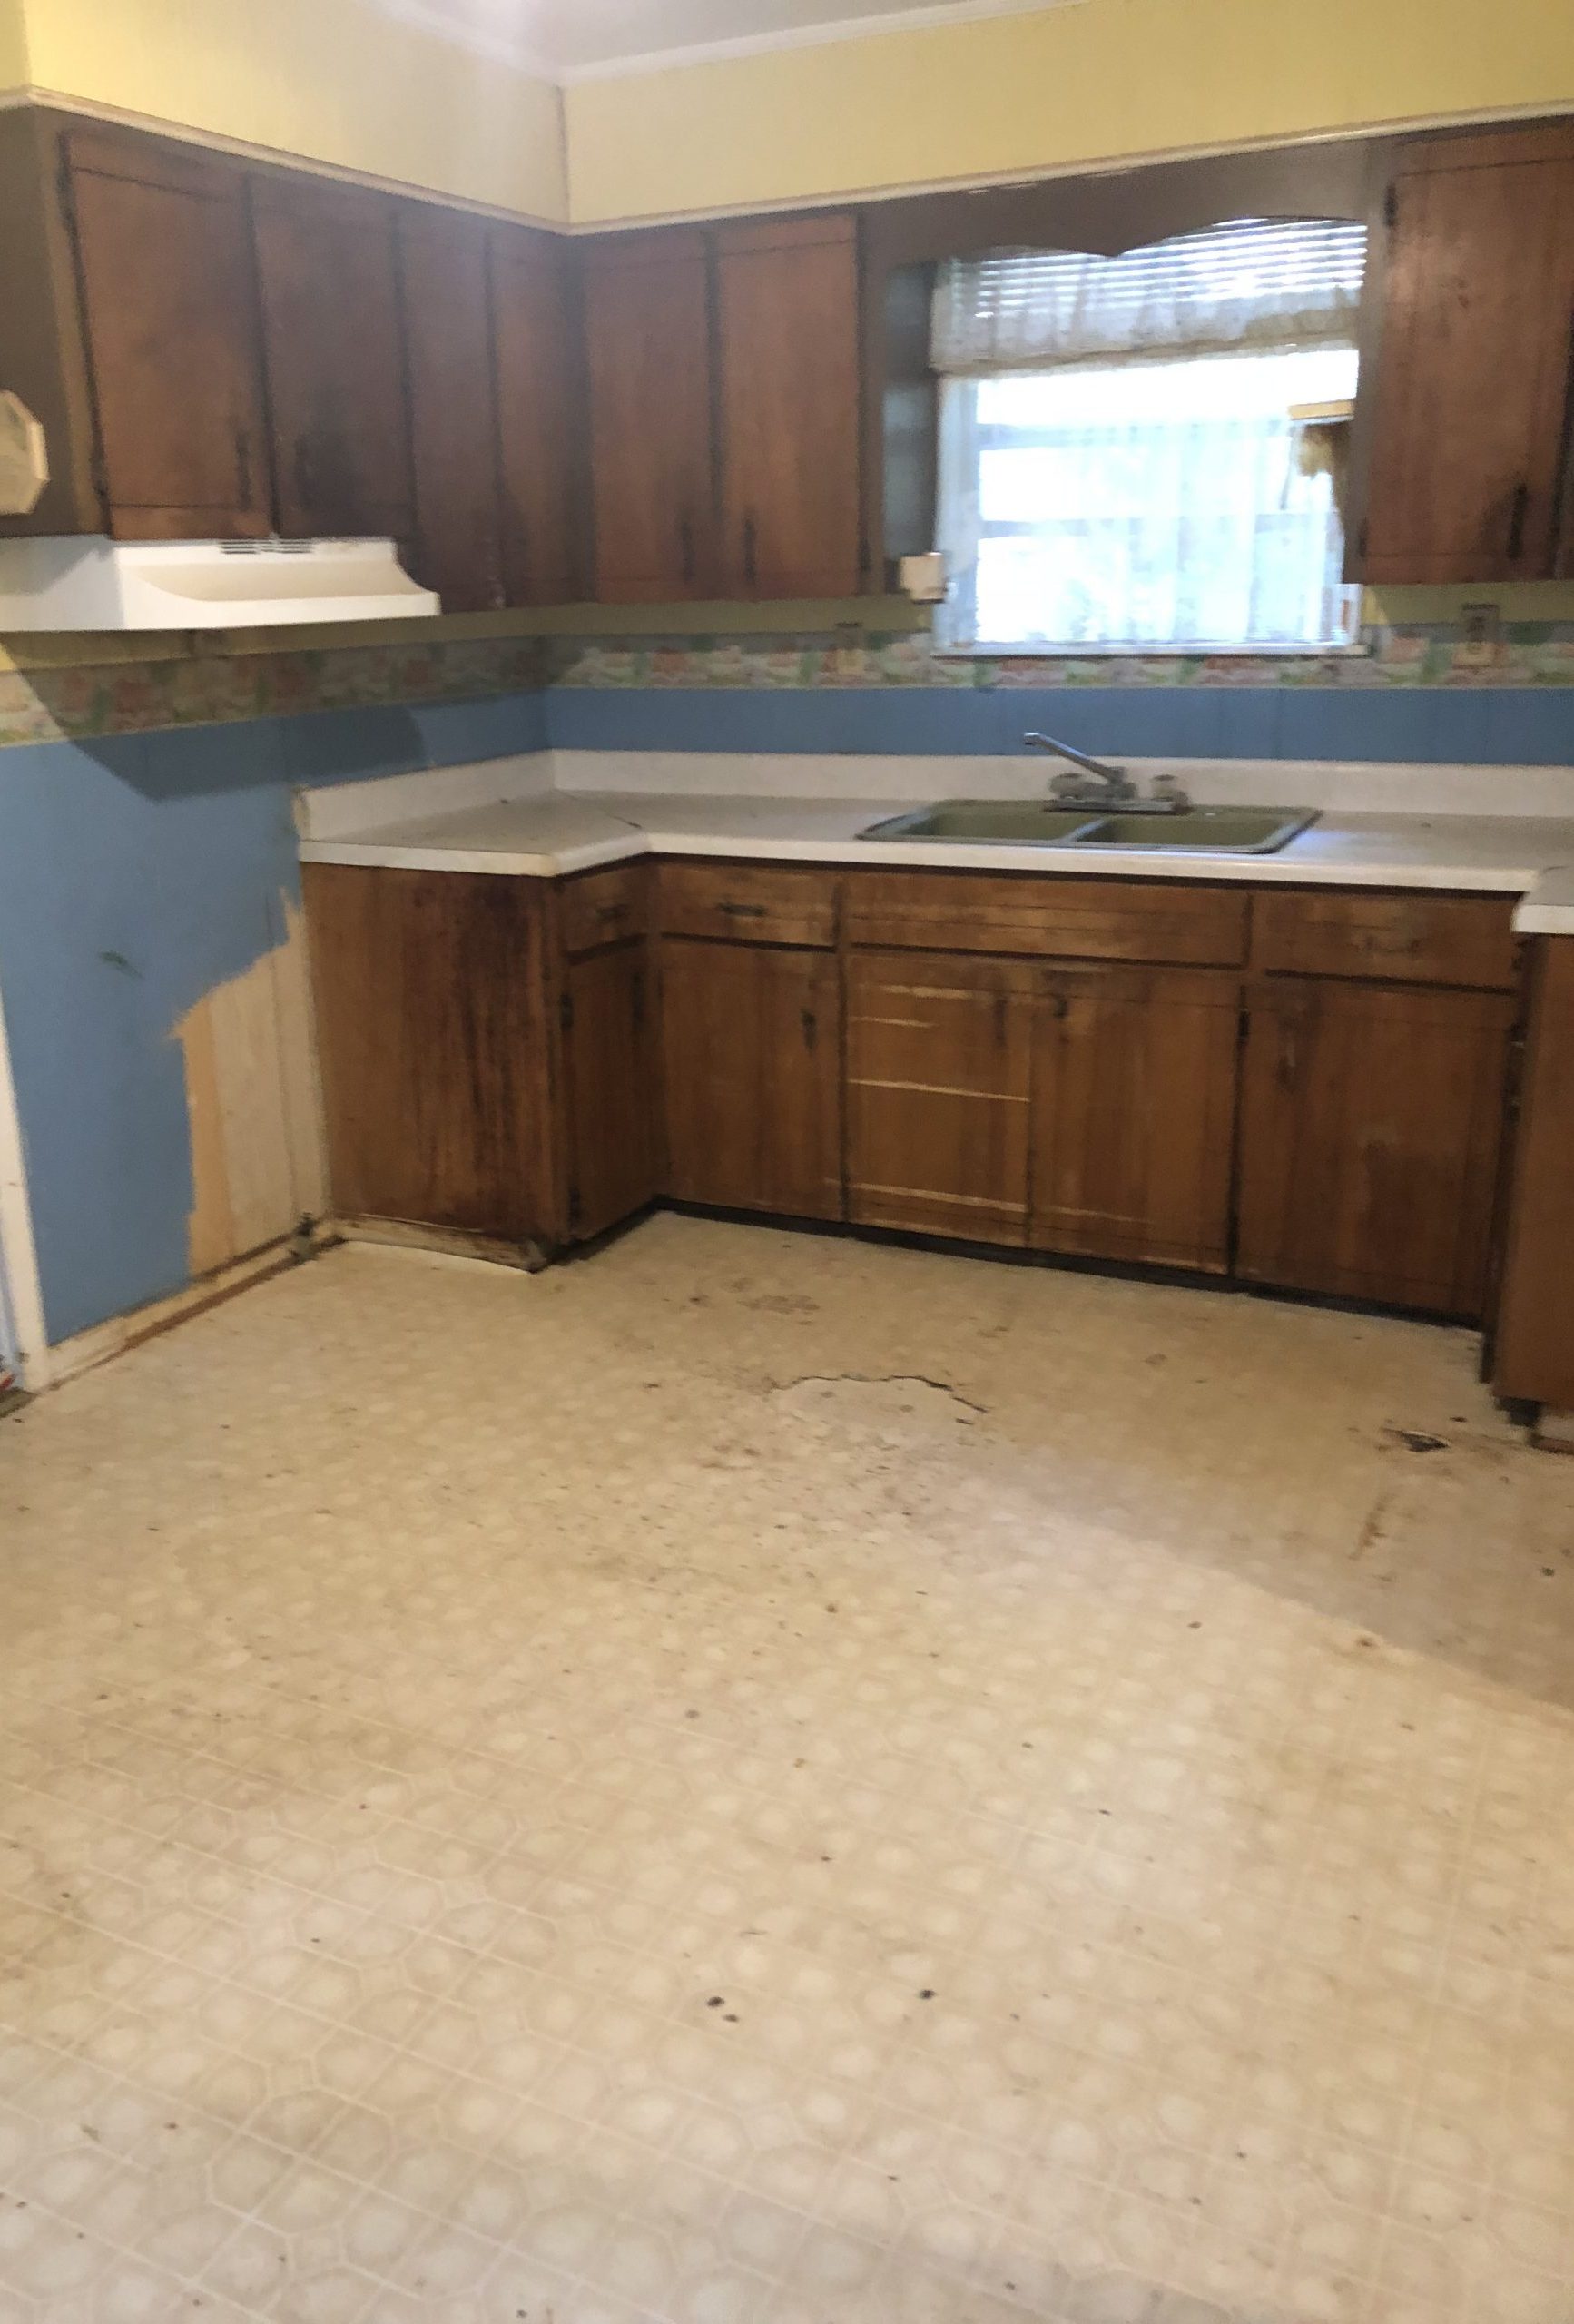 Whew! Looking back at this photo blows my mind. The only thing I saved in the kitchen was the top cabinets. The lowers had so much water damage that they had to be replaced.
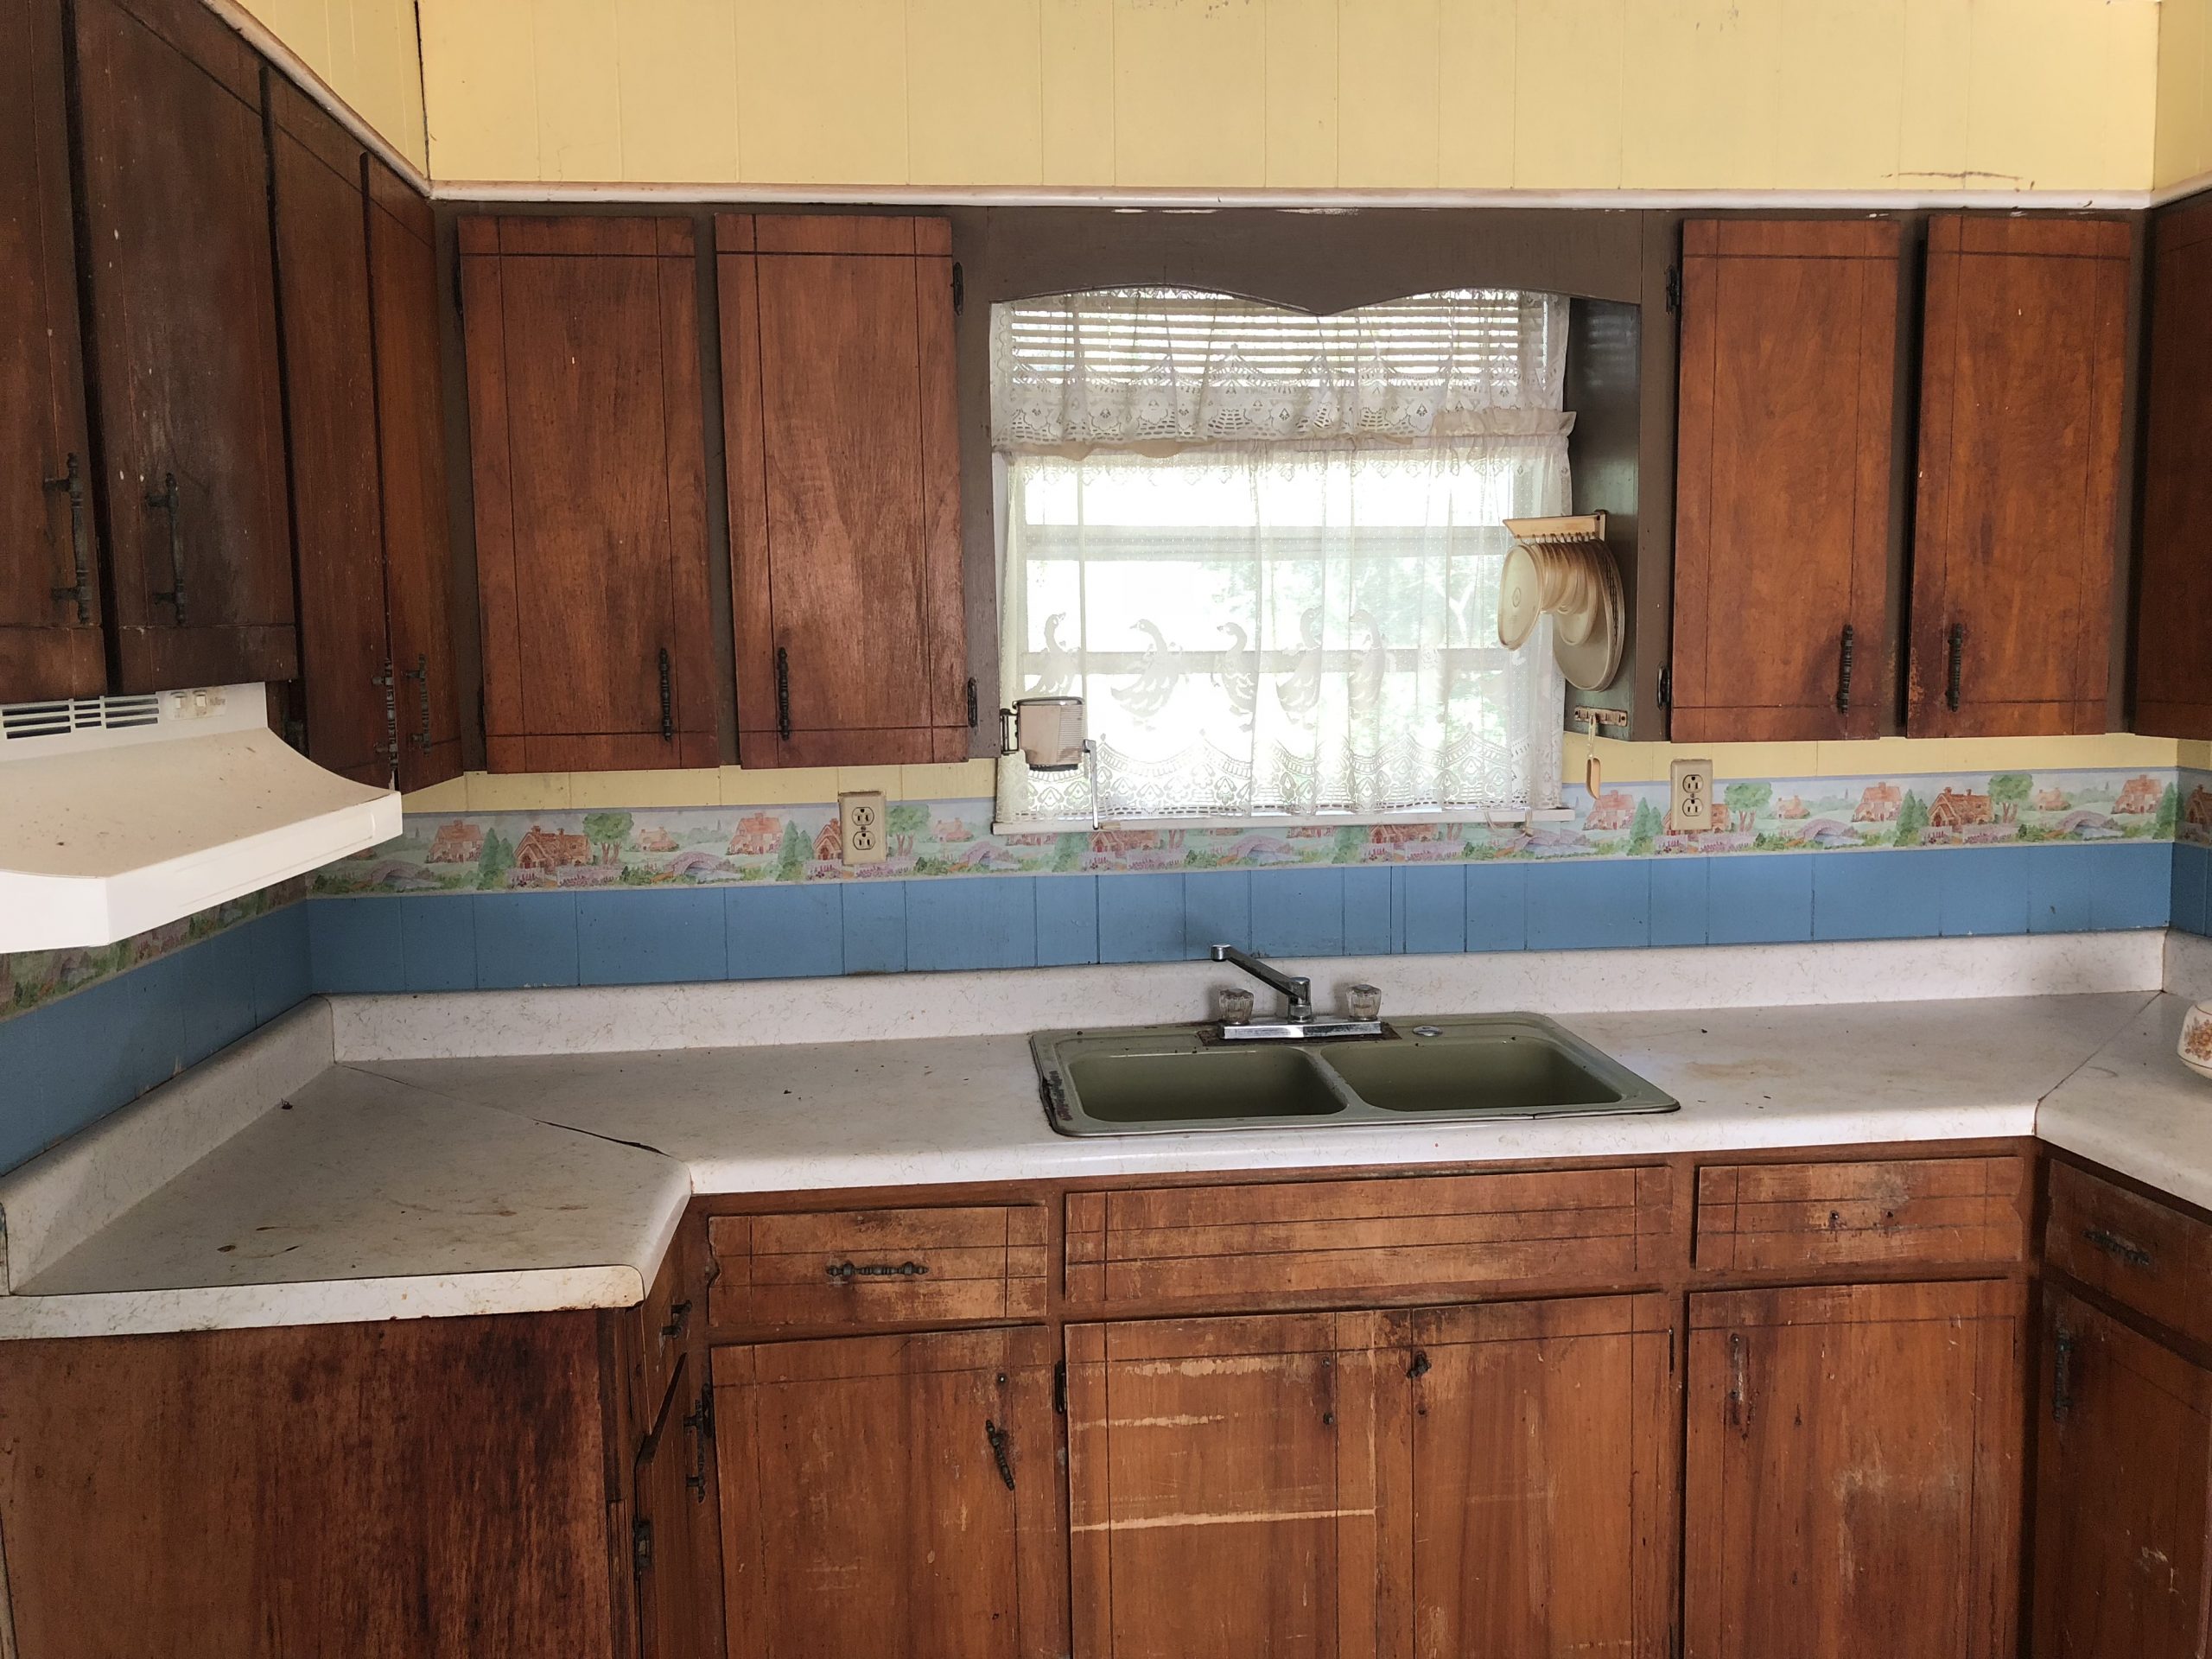
Peep the ancient Tupperware lid holder over the right side of the sink :).
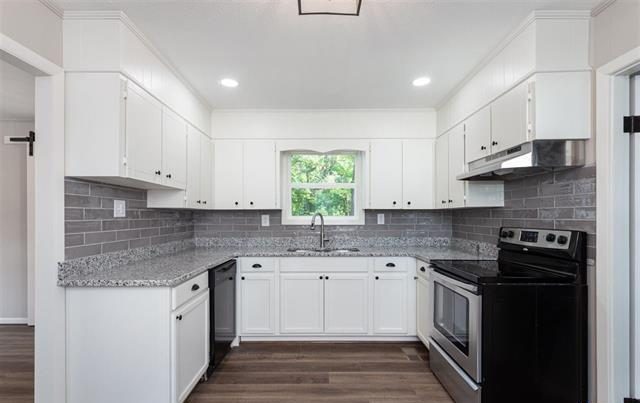
To save money, I purchased unpainted, pre-fabricated lower cabinets from Lowes and painted them to match the upper cabinets. Matching black hardware tied the two together. I flipped the oven to the other side of the kitchen and installed a new hood, the refrigerator was formerly located in this spot. By moving the oven, I was able to install a dishwasher (a must-have in my opinion).

A closer look at the cabinets. If in doubt on hardware color, black is always a safe choice that appeals to most buyers.

I added four LED disk lights to really brighten the space. Since the kitchen was so small, I chose to install granite countertops and a backsplash. Looking back, I probably could have gotten away with laminate countertops and no backsplash.

Peep the flush mount light at the top of the picture above. It’s one of my favorite lights I’ve ever purchased for a project home. I lucked up and found it on clearance at Lowes.

This wall is directly opposite the sink wall and was the former eating area.

I love how this area of the kitchen turned out. By combining the living and dining areas, I was able to add a “pantry”, relocate the refrigerator, and add additional cabinets and counter space. The pantry is two un-finished, pre-fabricated utility cabinets attached together. The additional lower cabinets added much needed storage. Two stained shelves are both decorative and functional.

For dramatic effect, here is a side-by-side before and after.

Another side-by-side of the opposite side of the room.
The “before” of the first bedroom and the largest bedroom in the house. This bedroom was an addition to the original structure.
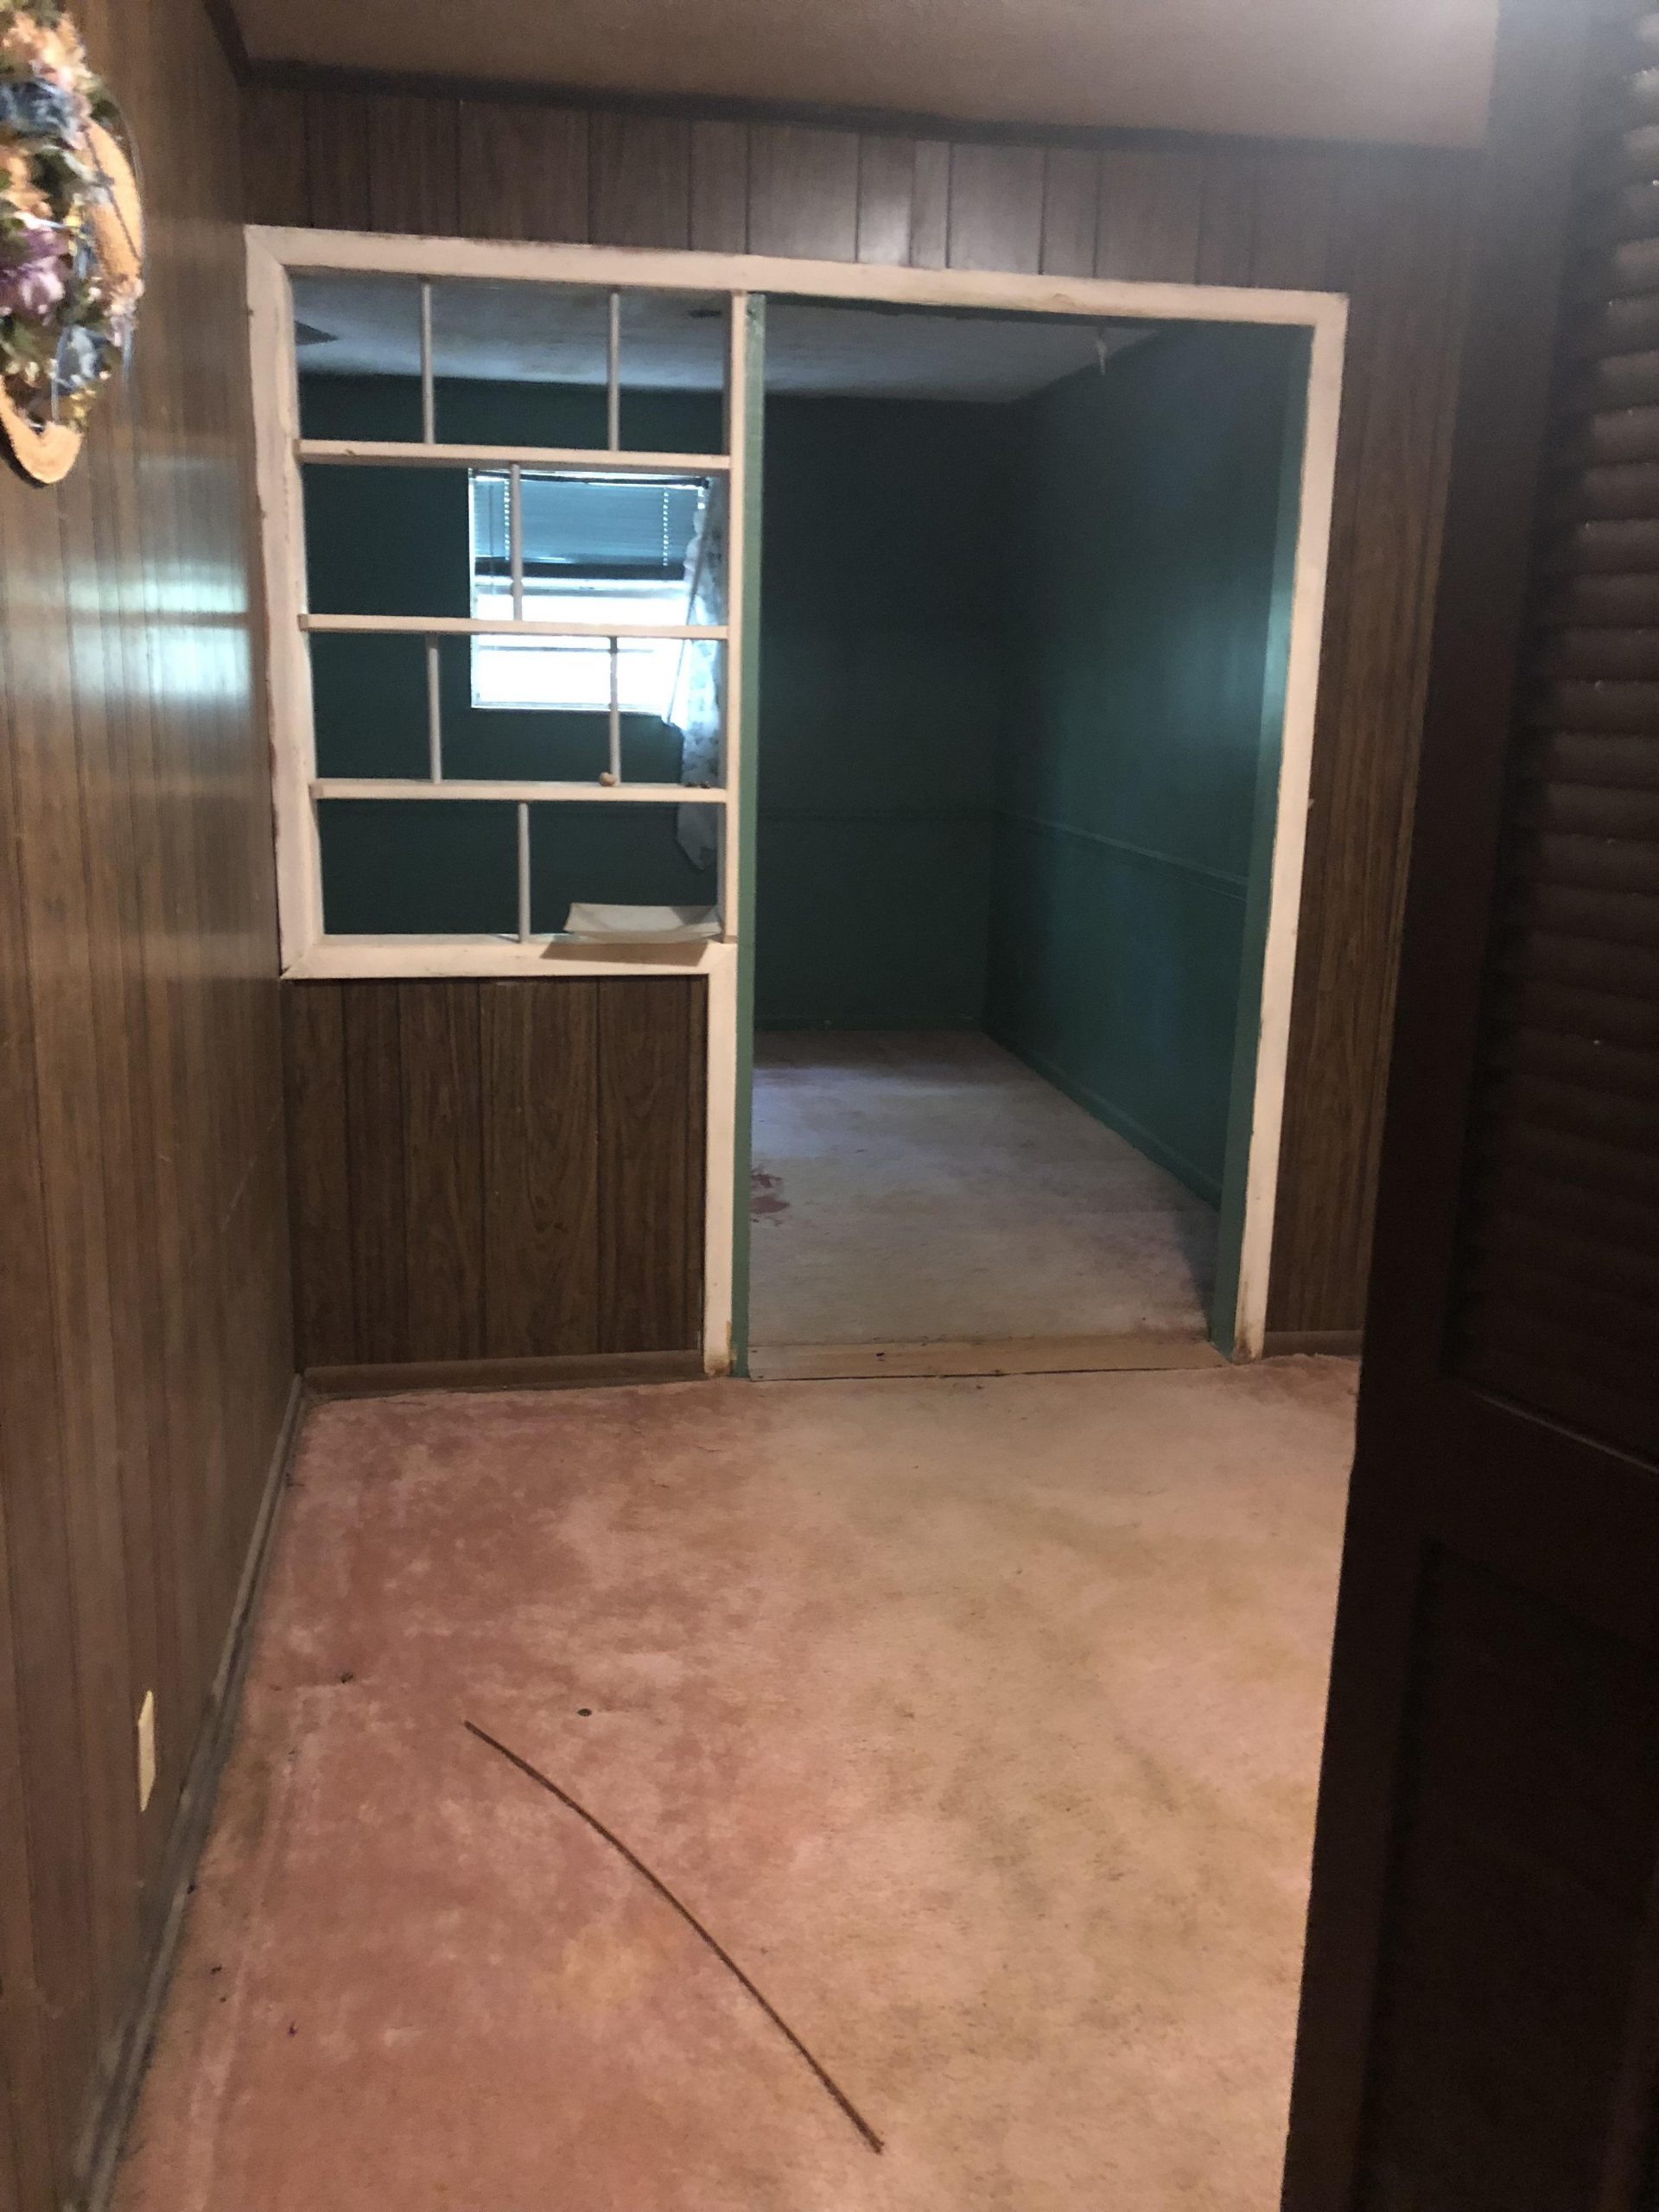
The room in the foreground was removed to enlarge and combine the living and dining areas.

New drywall, windows, lighting, paint, and flooring transformed the space.

Removing the awkward room just before entering the bedroom resulted in having to add a closet this space. Thankfully, the room was large, still allowing for a queen size bed despite giving up floor space for the closet.

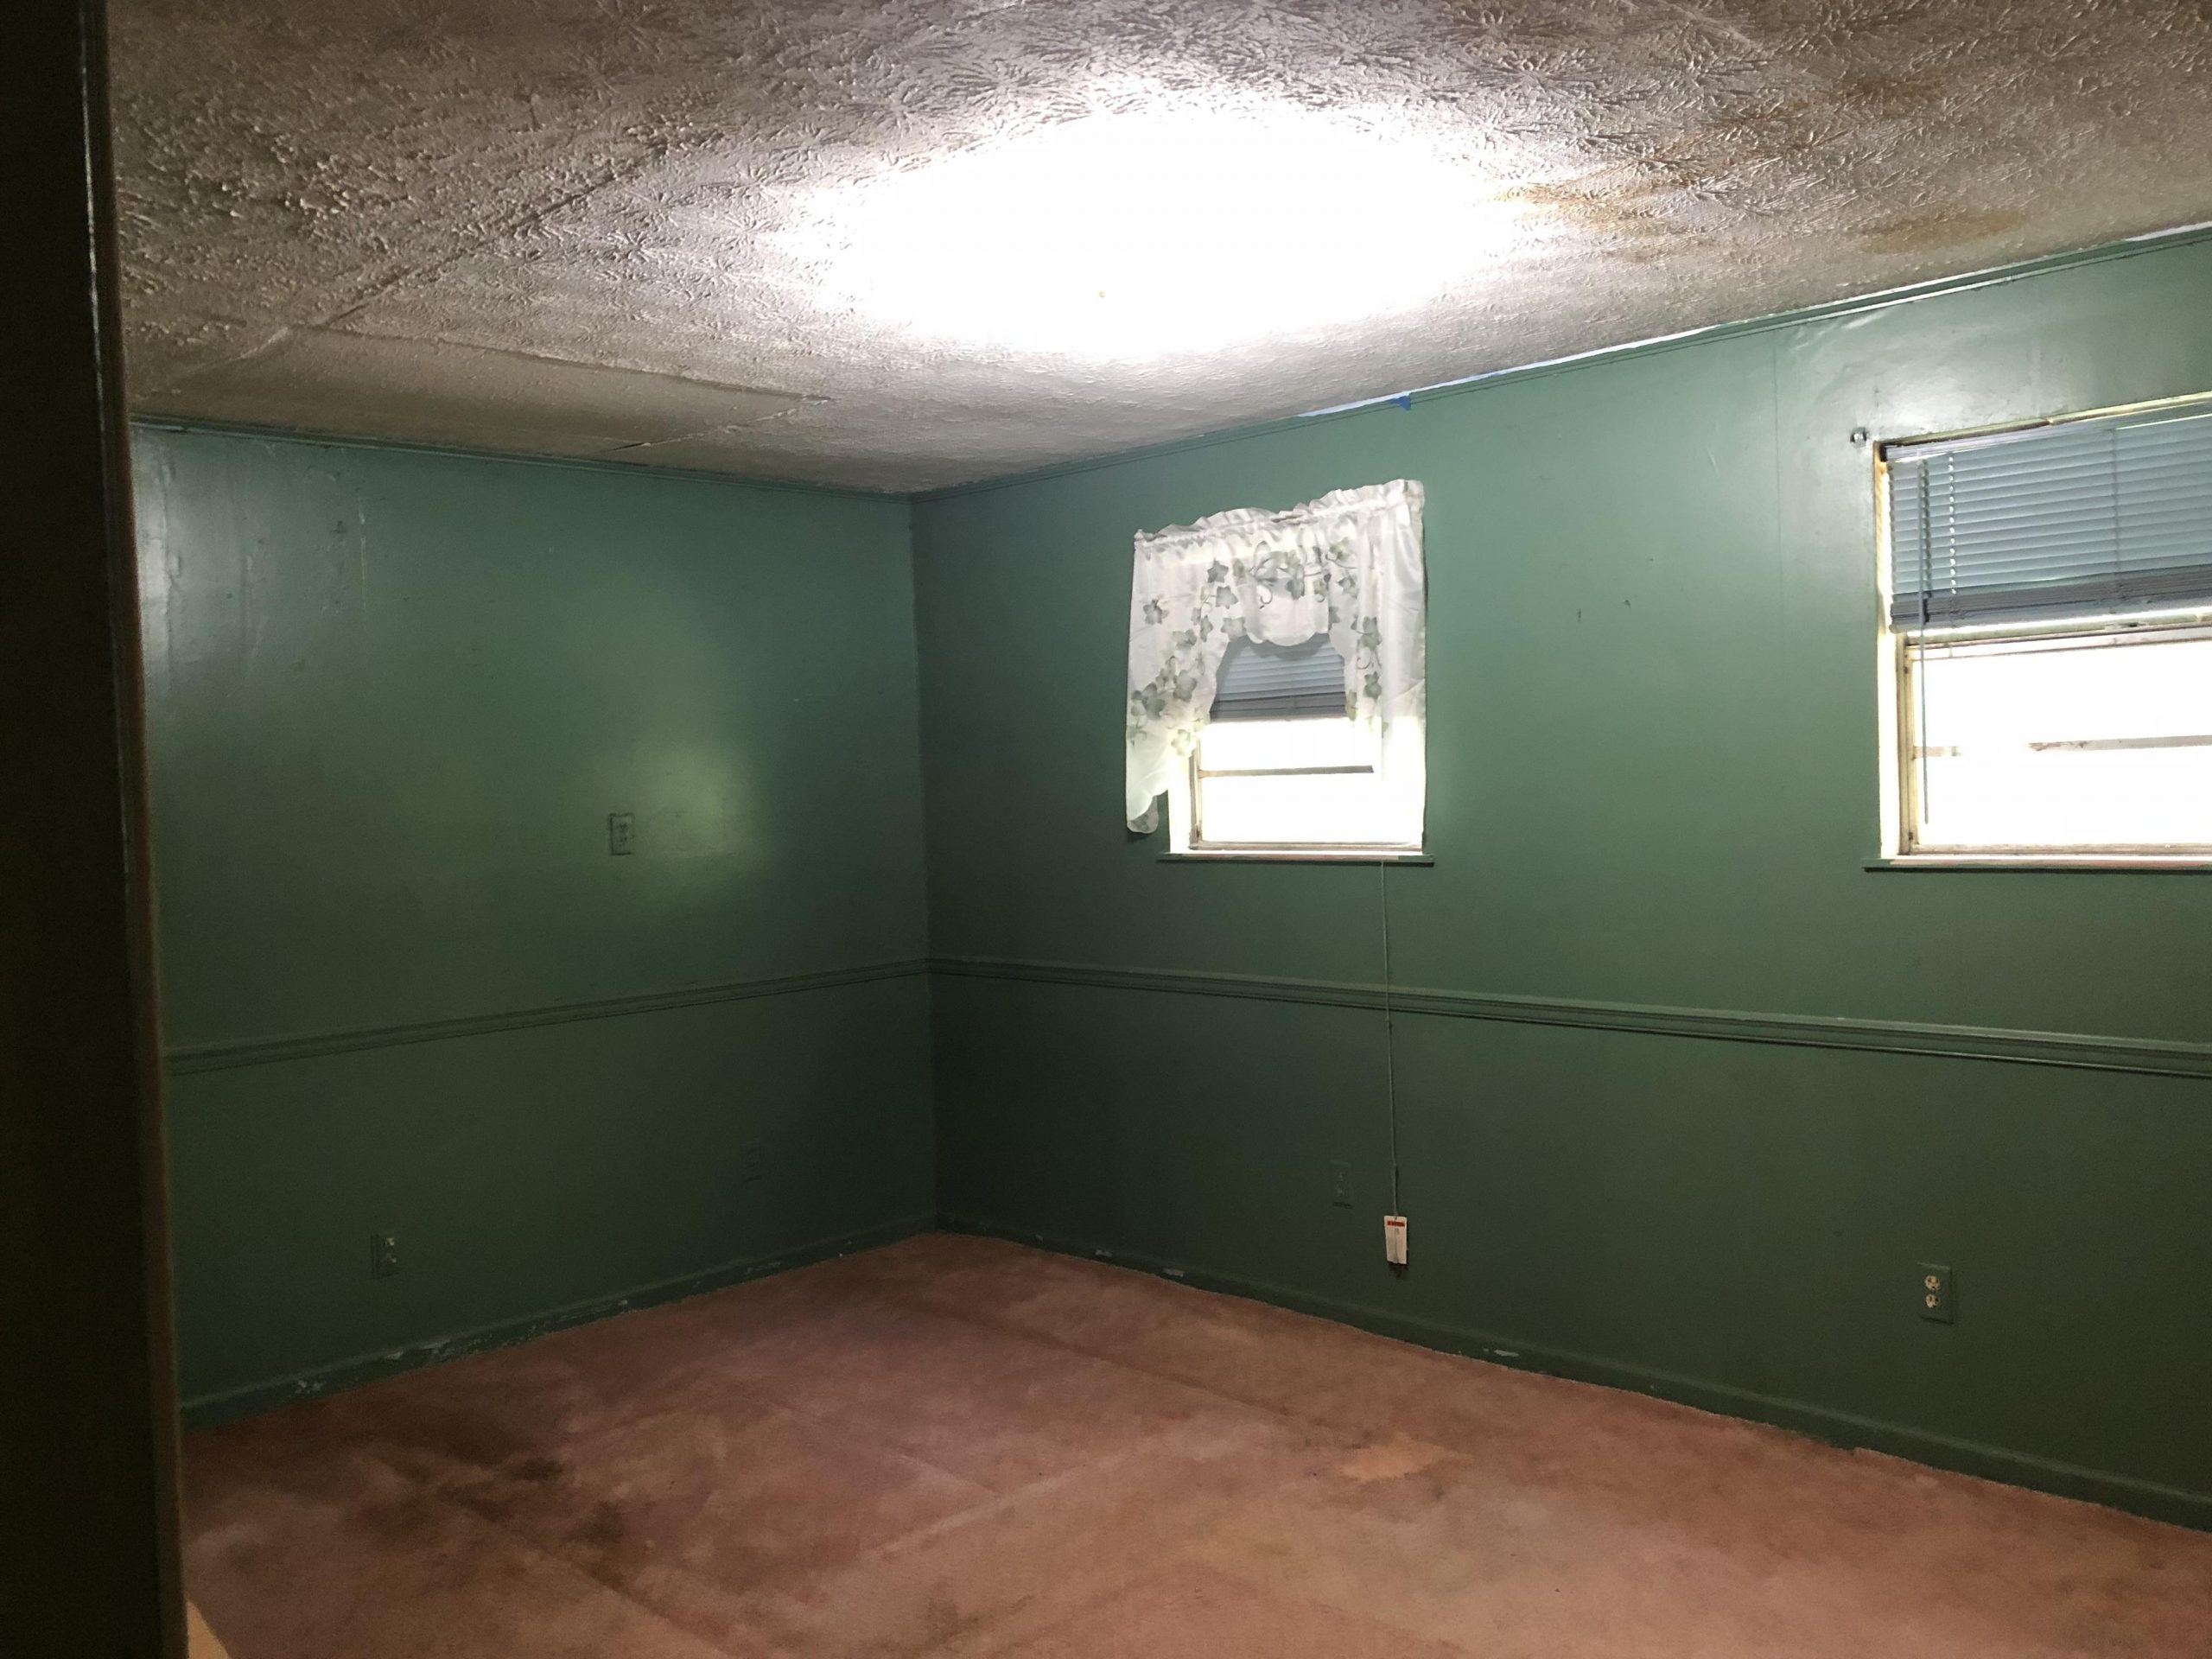
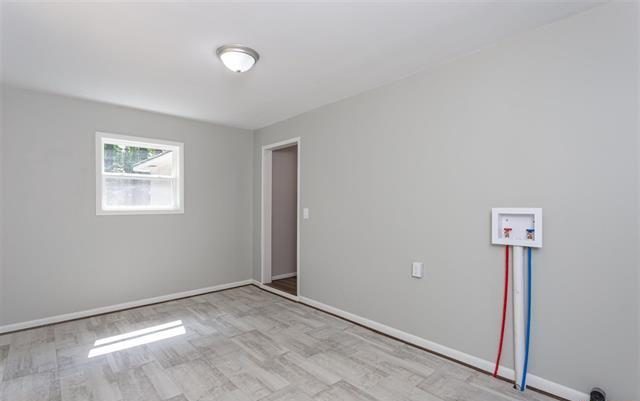
Bedroom 2 was also spacious. I kept the paneling in this room and like bedroom one, added new flooring, lighting, windows and paint.

Still in second bedroom. I don’t have a “before” picture of this side of the room, but imagine, dark, dingy, louvered closet doors.

This is third bedroom located just off the kitchen. This is the smallest of the three bedrooms. We utilized the paneling from this room to replace damaged paneling in other areas of the house and then installed drywall in this space.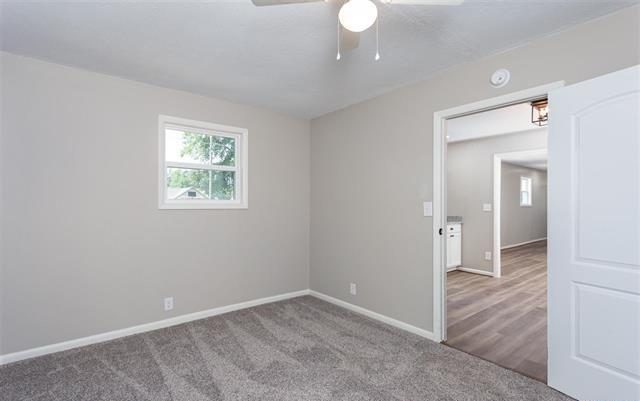 This is the same bedroom with a picture shot from another corner. Like the other two bedrooms, this one got updated windows, paint, flooring and lighting.

This is the other side of the third bedroom. The door to the left is for a tiny half bath. The door to the right is for a small closet.

Both the closet and half bath got new doors.

The third bedroom had a tiny half bathroom that I considered removing entirely. In the end I decided to keep it. I apologize for the dirty toilet picture, but am trying to keep it real for you :). Disgusting kitchens and bathrooms are a common factor in all of my remodeling projects.

I don’t have a before of the original vanity, but this out-of-the-box vanity and mirror combo worked perfectly to update the tiny space.

The laundry room was an addition and very unfinished. Luckily it was a great size. We were able to keep the exterior door, like the front door it just needed a fresh coat of paint.
 We added drywall, new windows and rollout vinyl flooring to finish the space.
This picture was taken from the back door looking toward the doorway to the living room. This space was plenty big enough to serve as a mudroom, laundry room, pantry/storage, in short, a multipurpose space.
That completes the tour!


